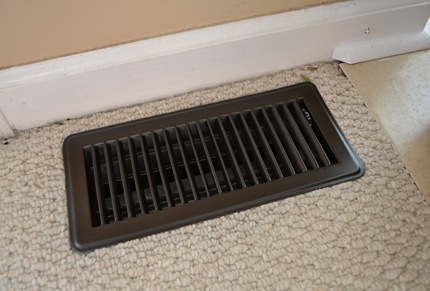
Do your vent covers looks a little like this? Yuck! Besides needing to be cleaned, this one has seen better days.
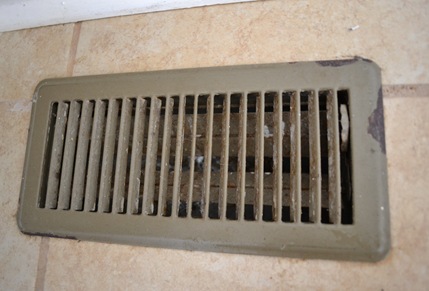
I was dreaming of Oil Rubbed Bronze vent covers, BUT on a budget! Welcome my favorite friend, Krylon Oil Rubbed Bronze spray paint!
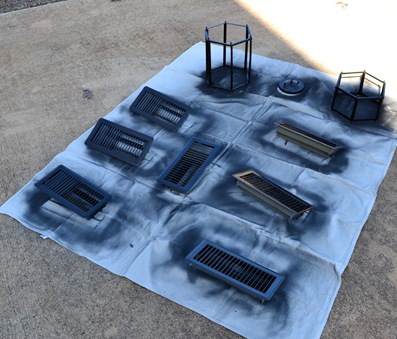
I had 7 in-floor vent covers downstairs. I took them all out, washed them, and laid them outside to dry.
Then the painting began…
I did 2 light coats and that seemed to cover them great! I was spray painting several other things as well, but not including drying time this project took less than 30 minutes. And I didn’t even use a whole can of spray paint, so this project cost less than $3.00!
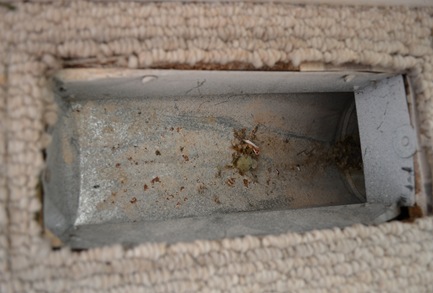
(While they were drying, I vacuumed out all of the vents! Yuck! I think some of this dirt was from the previous owners!)
So here are all 7 vents before and after!
Living room #1
Before
After!
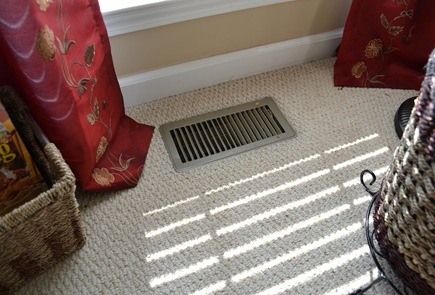
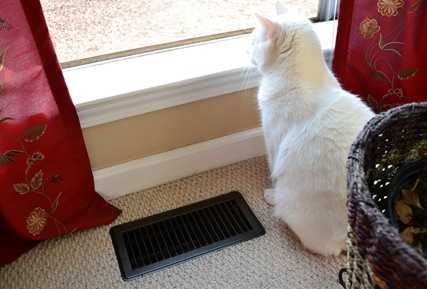
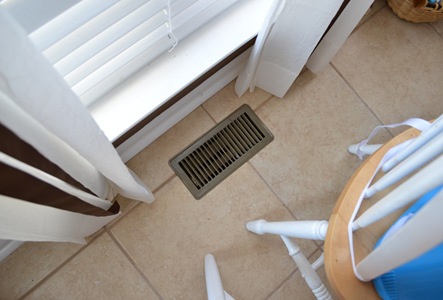
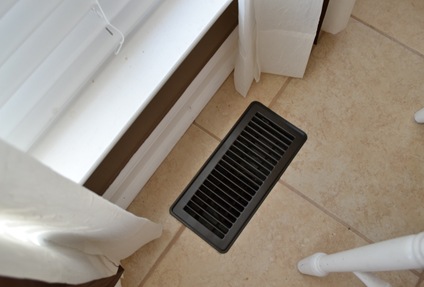
Living room vent #2
Before:
Obviously my cat is liking them too, or maybe he is just enjoying the window being open! :)
After:
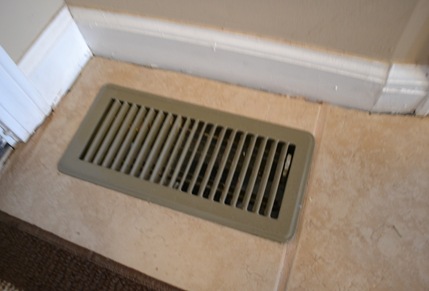
Yucky kitchen vent #1
Before:
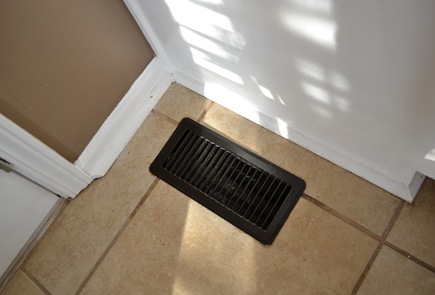
After! (The best transformation of all! This vent looks 200% better!)
Kitchen vent #2
Before:
After!
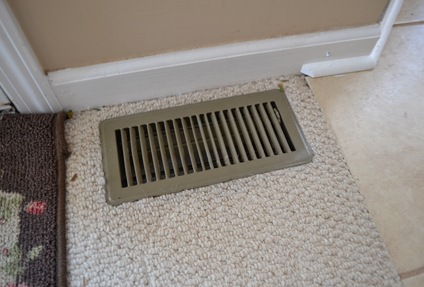
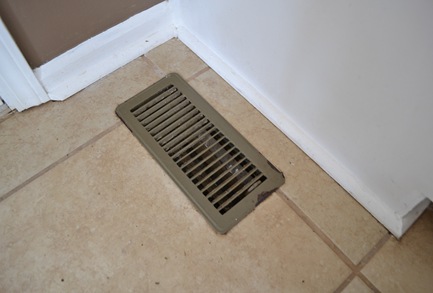
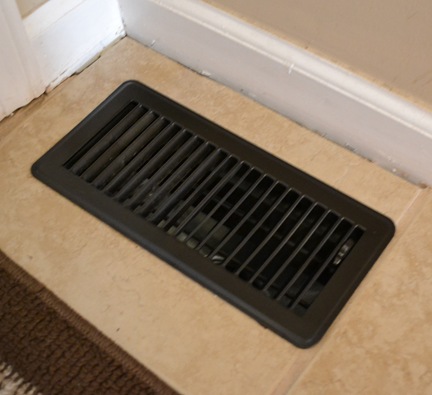
Hallway vent
Before:
After
(Ignore the gaps between the tile and baseboard. I need to re-install the molding around the baseboards. :( It is on my monstrous house to-do list.)
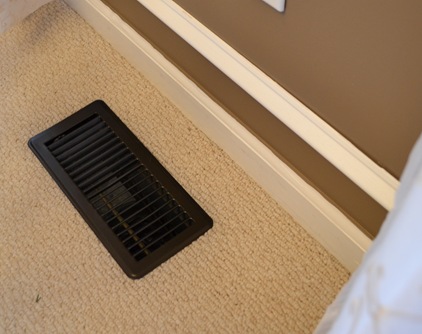
Dining room vent
Before:
After:
Amazing what a little spray paint can do! Even though they weren’t bad and brassy, I am liking the ORB change! :)
What have you been spray painting this Spring?



What an amazing transformation! Love it!
ReplyDeleteThanks, Renee! So easy but a big impact! :)
ReplyDeleteWhat a great idea! We just moved into a new place (new to us) in GA and some of the vents are horrid! Some are white w/rust and some are dark colored this is a great idea to fix them on the cheap considering one vent is about $7 bucks at the hardware store! Thanks for a great post.
ReplyDeleteI absolutely love them. I used oil rubbed bronze a couple years ago to redo all our switch plates...what a savings! Our house is over 100yrs old and the covers are so in need of a touch up. What a great idea. Thanks so much for sharing!
ReplyDeleteDon't you just love that stuff? I did a similar upgrade to ORB here http://alwaysatreasure.blogspot.com/2011/04/from-brass-to-oil-rubbed-on-cheap.html
ReplyDeleteWhy didnt I think of this?? Guess what I'm going to do this weekend?? :-)
ReplyDeleteThanks for the great idea............gotta get me some ORB.....stat!!!
ReplyDeleteGreat idea! I so need to do this on ours.
ReplyDeleteThanks for this idea! I'm definitely going to do this!
ReplyDeleteTotally love this!!! It completely transformed them...great job!!
ReplyDeleteLaKeta
1luckeegirl.blogspot.com
Thanks!! Hope all of you get a chance to try it on yours! Mine are still looking great after a few months. :) Thinking about doing doorknobs next???
ReplyDeleteHi there, I have purchased my ORB spray paint and ready to start my project. I am redoing all of the floor vents in ORB. How long did you leave the vents to cure/dry before installing them?
ReplyDelete